Canon EOS-C100 REVIEW
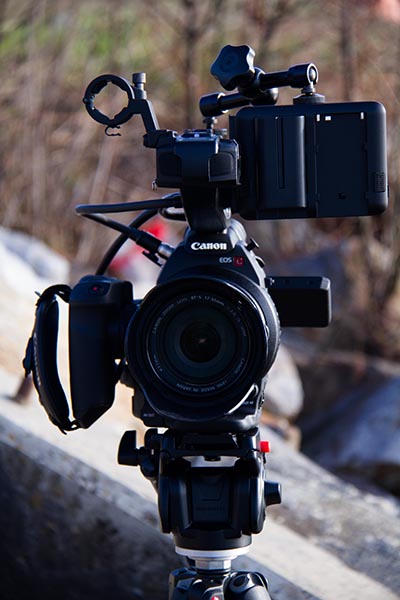
Canon EOS-C100 with Atomos‘ Ninja2
The future of HDSLR?
As HDSLR filmmaker and owner of a Canon EOS-7D, I have used DSLRs ‚till the last function, with all the necessary equipment in order to produce professional videos or timelapse (Timelapse).
There are all sorts of DSLR accessories out there that make it easier to operate a video camera – external audio recorder, external microphones external view-finders and external monitors.
But I iss some features compared to a real video or digital film camera, despite its small form factor.
One of the features is interlaced video, needed for broadcast video, but the dslr is lacking that feature, as is professional audio via XLR. And of course I miss the comfort of having deticated buttons for the most important functions on the body that are freely assignable is missing on DSLRs too.
The C100 follows up where DSLRs are on their limits – especially for the kind of project mix that I used to do. The Canon EOS 7D and the C100 are good partners but the C100 with a Ninja2 external recorder will be for sure my new main-camera for most my projects.
RELATED ARTICLES
- Get slomo with Canon C100 with 60i at 24p
- C100 Tips & Tricks
- Atomos Ninja2 – 4:2:2 ProRes & DNxHD recording via HDMI
- The Myth about Logarithmic CP profiles PLUS NTown’s Custom-Picture profile download
- Canon Cinema Picture Styles
- Canon C100 ISO 80.000
NTown’s ‚Neighbourhood‘ collage on shots filmed with the C100
C100, C300’s little brother?
If you are interrested in the C100 you probably know about the one year older C300 from Canon. The camera had set new quality standards and still is one of the best Super35 Cinema Cameras, even if it delivers only 8-bit.
In November 2012 Canon released the C100 which cost less then half the price of the C300 and has more, less the same features – a few shortcomings though, but above all its got the same 4K Bayer sensor which means the camera has the same image quality as the C300. But there are some differences that might be a deal breaker for somebody.
Of course it always depends on how you want to use the camera and how necessary is a certain features for your camerawork.
The C100 is smaller and lighter than the C300. The body of the C100 weights only 1015g without the grip, the top handle and any accessory but feels very sturdy with its magnesium body!
As a „world“-Camera it can be switched from PAL to NTSC and allows frame rates of 25PFS, 50i and 24p, 29.97PFS, 59.94i in Full HD 1920×1080 only, no 1280×720. The Bayer CMOS sensor comes with 2x green pixels, 1x blue pixel and 1x red pixels and combines it to a 3840×2160 pixel image which is then passed to Canon’s DIGIC DV III Image Processing which results i a very sharp and bright image.
Big advantages of the C300 are the SDI in- and outputs and the internal 50mbit 4:2:2 codec and also the larger monitor. Canon targeted the C100 to the one-man-show-shooters and has added some great and usefull features.
The most important C100 features compared to the C300:
- AVCHD 24mbit 4:2:0 8-bit Codec (C100) vs MPEG2 50mbit 4:2:2 8-bit Codec (C300)
- Stereo Mikrophone on the Top-Handle
- Push-Auto-Focus
- Push-Auto-IRIS
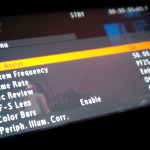
- EF-S Lens Mode
- Manual (C100) vs. electronic (C300) ND filter control
- No SDI in and out (C100) but TC over HDMI for the C100
- No Timecode in via SDI
- Smaller monitor and viewfinder for the C100
- No interval recording for the C100
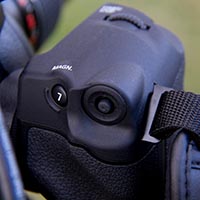 Multifunction Joystick |
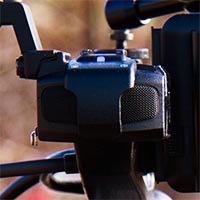 Stereo Mike in Top-Handle |
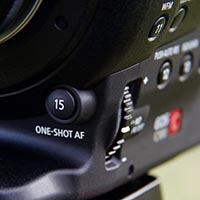 Push Autofokus |
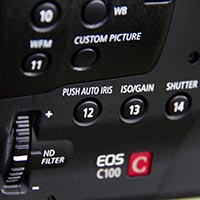 Push AutoIris |
Joystick Fun
One of the best features of the C100 is the multi-function joystick.
The rubber stick has two main functions. It navigates to the menus and acts as a multi-function control. With a press of the small knob the last selected parameter is re-selected while left-right selects the parameters and up-down changes the parameter value.
These parameters are WB (White Ballance), WB adjustment, ISO and shutter. The aperture can be changed via control wheel on top of the side handle like on a Canon DSLR.
With this kind of controls a very fast and intuitive handling of the camera is guaranteed!
ND-Filter
Very important for nice depth of field effects are neutral density filters. The C100 has three ND steps (2, 4 and 6 stops) which are controlled with the big wheel on the left side which are hard to rotate to prevent the filters to be switched by accident.
Monitor and Baby-Viewfinder
Compared to the C300 the monitor is smaller but provides very good quality. Only the placement at the back is perhaps not perfectly chosen, however positive to mention it is mounted directly to the body and not on top of the handle like on the C300 in this very high raised position. Regarding high rised positions, the C100 monitor is turnable up-side-down which makes viewing easier when the camera is in a high position.
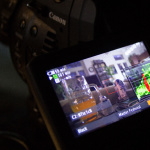
The on-screen display on the LCD monitor is incredibly informative and covers virtually all requirements. There is a configurable Waveformonitor, Peaking for focus control and Zebra with 75% and 100% setup. The resolution of the LCD seems to be 800×480 and quality is nearly as good as C300’s LCD.
Sadly, the EVF is very small and the LCD looks ok but is not swiveling and the eye cup a bit too small but the EVF can be used as a last resort in very bright sunlight – possibly with an extra large eye cup.
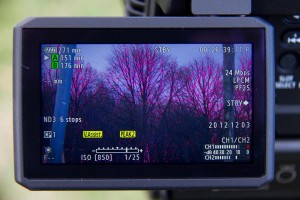 |
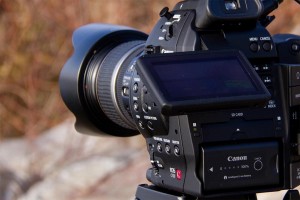 |
EF-S and Fan-Control
The C100 has a Canon EF mount that is compatible with EF-S lenses as usual with Canon DSLRs with APS-C sensor. EF-S lenses has a multiplication factor of 1.5 on C100’s Super35 sensor and the glass of the lenses must be made more accurate since the camera only uses the central area of the lenses.
The EF-S lenses are almost perfect for the C100 because the Super35 sensor is only marginally larger (APS-C 1.7x, S35: 1.5x multiplication factor), only from a focal length of about 17mm a very subtle vignetting is visible at the corners but a new feature of the C100 provides remedy.
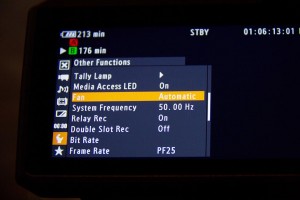 NEW: Fan Control |
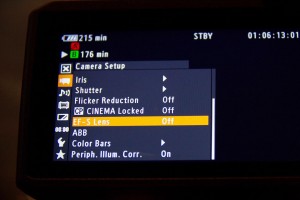 NEW: EF-S Mode |
This new feature is the EF-S mode which uses a smaller part of sensor and vignetting is no longer a problem.
Canon’s EF-S 17-55 f2.8 is the perfect standard lens for the C100 with a very universal focal length range and I really love the quality of the glass. The gyro-stabilizer is one the better and when the camera sits on a tripod the lens switches to a tripod mode in which the image is rock steady and does not move even slightly. Another important feature in the 17-55 is that the focus does not change when you zoom in or out. The sharpness of the lens is at least Canon L-series level and the full manual autofocus that runs very smoothly about a quarter turn and works wonderfully with a follow focus.
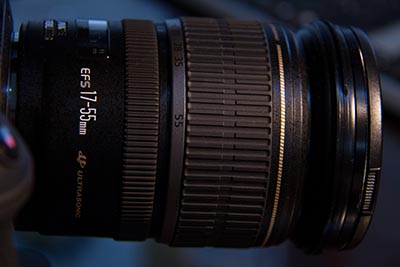
If you like my recomended gear please buy it at Amazon! The new fan control is a breeze, turned to Automatic the camera is silent und I guess it will only kick in on really hot environments. The fan is running on full power when in Media Playback Mode.
Gamma Presets and White Balance Editor
Canon added a new visual preset editor to the Custom Picture Presets. In just a few steps you get all the Gamma curves setup visually including the matching color matrix settings (Norm1-4, Cine1-2, EOS Std, Wide DR, Canon Log) and in the fine-tuning submenu all the other settings can be altered to get the desired look for your Custom Picture Profile. The noise reduction filter looks very robust and provides good quality – this is covered in an update of this article.
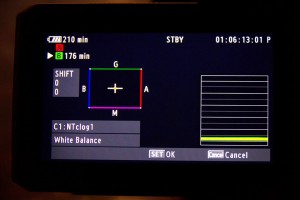 New White Balance Editor |
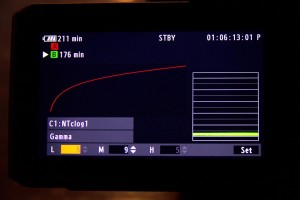 New Gamma Preset Editor |
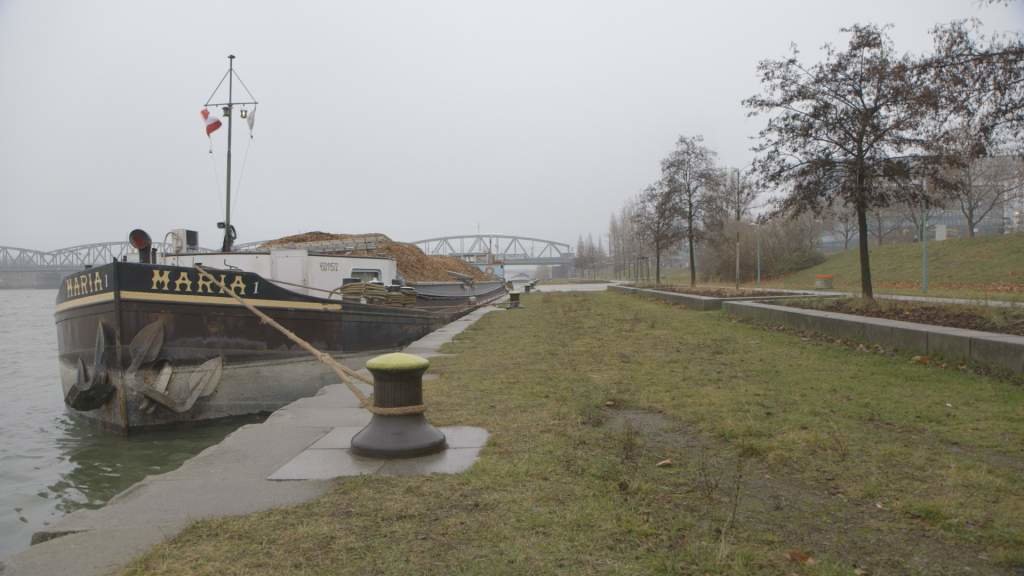
Canon-Log Custom Picture Preset Original
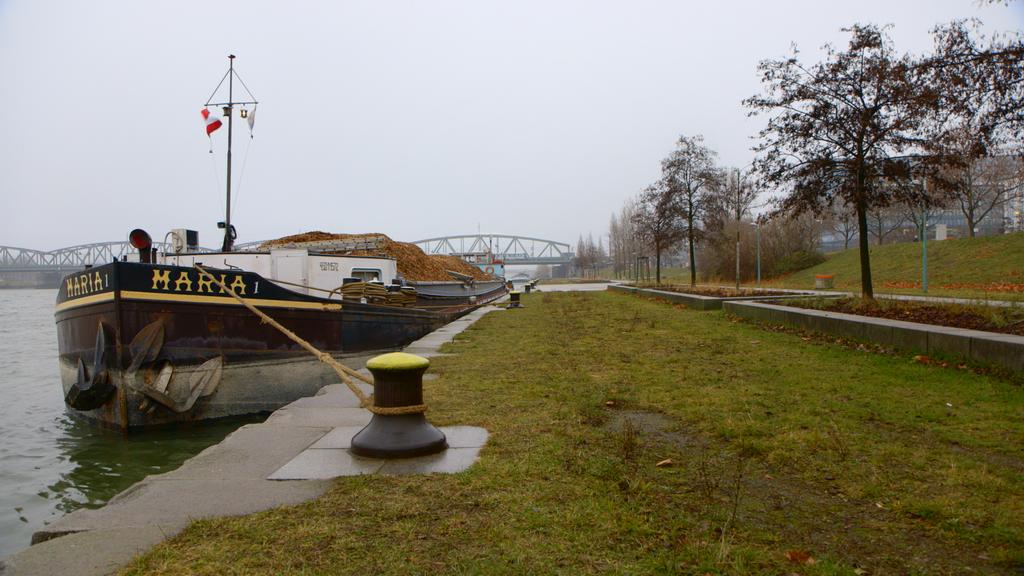
Canon-Log Custom Picture Preset Grading in Premiere CS6 with 3-way Color Corrector und Luma-Curve.
AVCHD vs ProRes vs DNxHD
The supposedly greatest weakness of the C100 is the codec but it’s also it’s strength. Canon’s implementation of the AVCHD codec is great and relatively robust, though he of course has its drawbacks as it is only 4:2:0 Color subsampling which results in red color distortion if the color is very intense. Aside from the known limitations of the codec, it looks really great! But when recording via Atomos Ninja2 which is able to record either with Avid’s DNxHD codec or of course ProRes with a maximum datarate of 220mbit with 8-bit 4:2:2 color subsampling you will get an amazing image quality and razor sharp colors. Yes color are really sharp, because of 4:2:2 Color subsampling, no color bleeding on very saturated color edges!
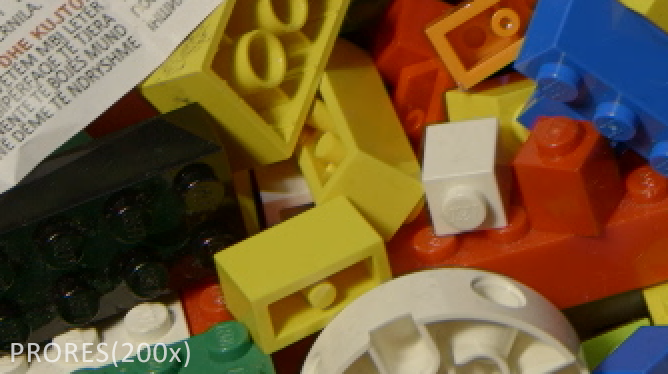
move mouse over image to see difference
The internal 24Mbit 4:2:0 codec shows its strength when processed in post properly. When recording field video-material, the codec delivers very good results and can be processed normaly. Progressive material has to be interpret as progressive, even it is shown as interlaced in the NLE because the MTS files from the camera has set the interlaced flag, even when recorded as PF25 or PF30. This is a limitation of the MTS container and the AVCHD Codec. In Premiere CS5/6 this is just a matter of two steps. Select all MTS clips then CLIP->MODIFY->INTERPRET FOOTAGE in the „Field Order“ and set it to NO FIELDS. This sets the material to full progressive in the original resolution.
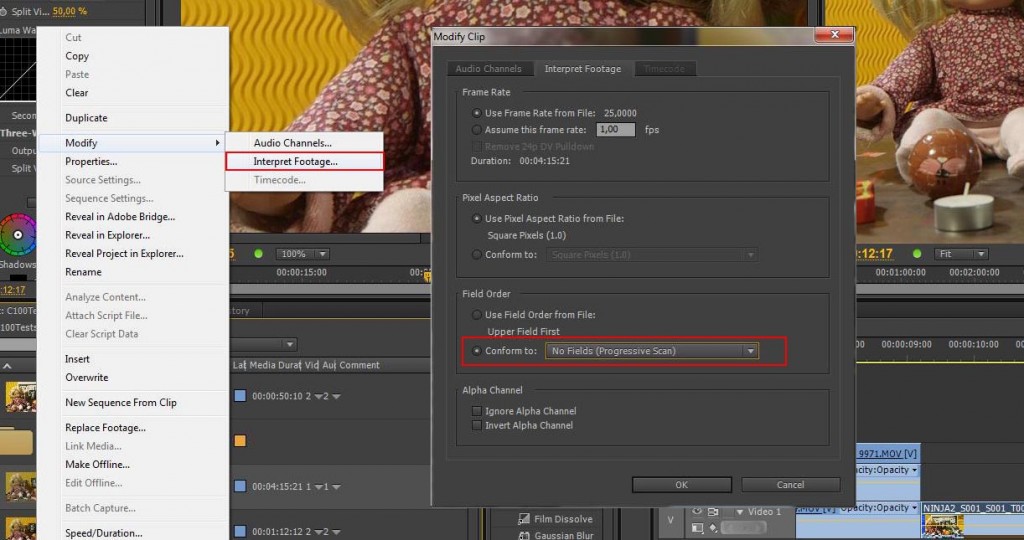
AVCHD in Premiere CS6: Conform to Progressive
When the Atomos Ninja2 external recorder ist used then you out get ProRes 4:2:2 recording (LT/422/HQ) with a data rate of up to 220mbit and since firmware 4.01 the Avid DNxHD codec in two datarates. The signal is sent via HDMI cable to the Ninja2, which is not necessarily a professional solution, but provides a professional quality image!
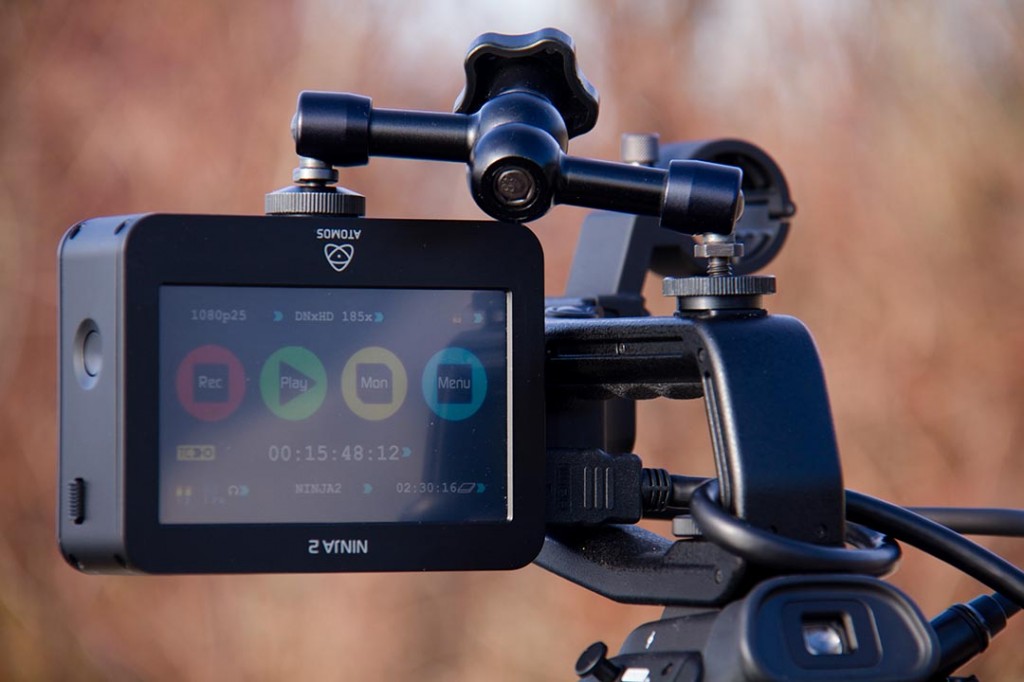
Even when upside down, the Ninja2 works perfectly with the C100
Canon and Atomos have collaborated on an HDMI data protocol which communicates between the camera and the recorder and sends start & stop commands and even provides timecode. You can record the Ninja2 even without SD cards inserted in the camera. The signal via HDMI is uncompressed and with 4:2:2 color subsampling. It seems that in the current version of the Ninja (v4.01) Avid’s newly implemented codec raises the black level and lowers the gain. Whether this is a bug or a feature needs yet to be verified, but it seems that the DNxHD codec compresses the dynamic range and you lose dynamic range in highlight and shadow area. I already told Atomos about this and waiting for their reaction. For further details about Atomos Ninja2 read my Review. Dynamic Range: 4.5 Stops Upwards (c-log 4) 7+ Stop Downwards (c-log 6+) Thats more than 11.5 measured stops for the C100!
CONCLUSION
Beginners Pro camera with many features that can delight the ex-DSLR Users! Some things can not be as good as the C300 but some of it is surprisingly easier / better / more practical than the larger, more than twice as expensive C300! The C100 certainly misses out a few features, like a better codec and 60p, but you get a nice little piece of profesional equipment to start with. If you want to expand it as example for blue or green screen shots, you just need the Ninja2 (close to $900) which enables you to record in ProRes 220mbit which brings you to a completely different league quality wise and even beats out the internal codec of the C300. For it’s own, without comparing it to other cameras, the C100 is the perfect tool for most of the „One-Man Show“ filmmakers!
THE GOOD
- Excellent image quality in terms of sharpness, contrast and color in full HD, thanks to the 4K Super35 sensor with Bayer-Pattern
- Extremely sensitive sensor – ISO 320-20000 (Native ISO 850)
- Built-in ND filter glass ND1-3, 2x 4x 6x
- Small, light, handy, good ergonomics for one-man operation
- Very rugged magnesium / plastic housing
- Many pro features such as waveform monitor, peaking, Zebra, etc.
- Excellent AVCHD implementation
- HDMI uncompressed 4:2:2 8-bit output with Timecode
- Supports all EF and EF-S lenses from Canon and many other manufacturers
- Special EF-S mode to eliminate vignetting
- Countless picture manipulation options for a total of 29 Custom-Picture profiles
- Excellent image noise reduction by Custom-Picture settings
- 2x XLR audio inputs on the upper handle, 3.5mm jack sockets inputs directly on Body
- 15 programmable buttons
- Very long battery life (standard battery ~ 280min.)
THE NOT SO GOOD
- No SDI Out or In
- Internal codec only 24Mbit AVCHD codec with 4:2:0
- Viewfinder not that good to use
- No 60p (not even 720p@60)
- Push-Autofocus slow but usable
- Push-Auto-Iris also slow and not really usable
- MTS container shows progressive recordings as interlaced (but easily corrected with NLE)
- Without side handle (joystick) there is no way to navigate the menu and settings (solved in Nov.2013 firmware)
- Photos in HD resolution only (used as preview when saving Custom Picture profiles)
Dont forget to read my Article The Myth of C-Log about Canon’s C-Log and how to use it efficient
Canon EOS-C100 technical specs at Canon Europe: Canon EOS-C100
Found a typo or any other mistake, please feel free to write to office@ntown.at. Thanks for reading. Article written by Patrick Zadrobilek (3.Jan.2013)
| Subscribe to our Newsletter and get a special discount for our Webshop and a LUT Gift Package! |








 English
Can you let me know what that arm is you are using to connect the Ninja to the C100? It looks like one of the better ones I’ve seen. Thanks
go to Amazon or B&H and search for Magic Arm 7″.
I got mine from coollcd.com
Great write up on the C100 Patrick.
I got my camera last weekend and stumbled on your blog to read more on colour profiles as I’ll be shooting it alongside my 7D and 60D.
You’ve covered much more than what I’ve read around the web and forums (wish I found your blog first!), especially the post work flow because I haven’t dabbled on that myself and I haven’t worked with MTS files before.
Be great to know what your workflow for mixing DSLR and Cinema EOS would be.
I just need to find time to do some tests also.
Cheers,
B.
Thanks for the nice words 😉 I like it to test things out and share it to the community to improve their knowlede and skills.
Workflows for mixing Material depends on the NLE you use. I use Premiere CS6/CC which is very kind with mixed material in the timeline.
You can for example use the DSLR Sequence Preset in Premiere for FullHD source Movies, throw in all your Material, cut away and render out in the desired movie format.
But I think there is no ONE way, just try and use the method that fits best for your workflow.
Hope that helps a bit and thanks for reading 😉